
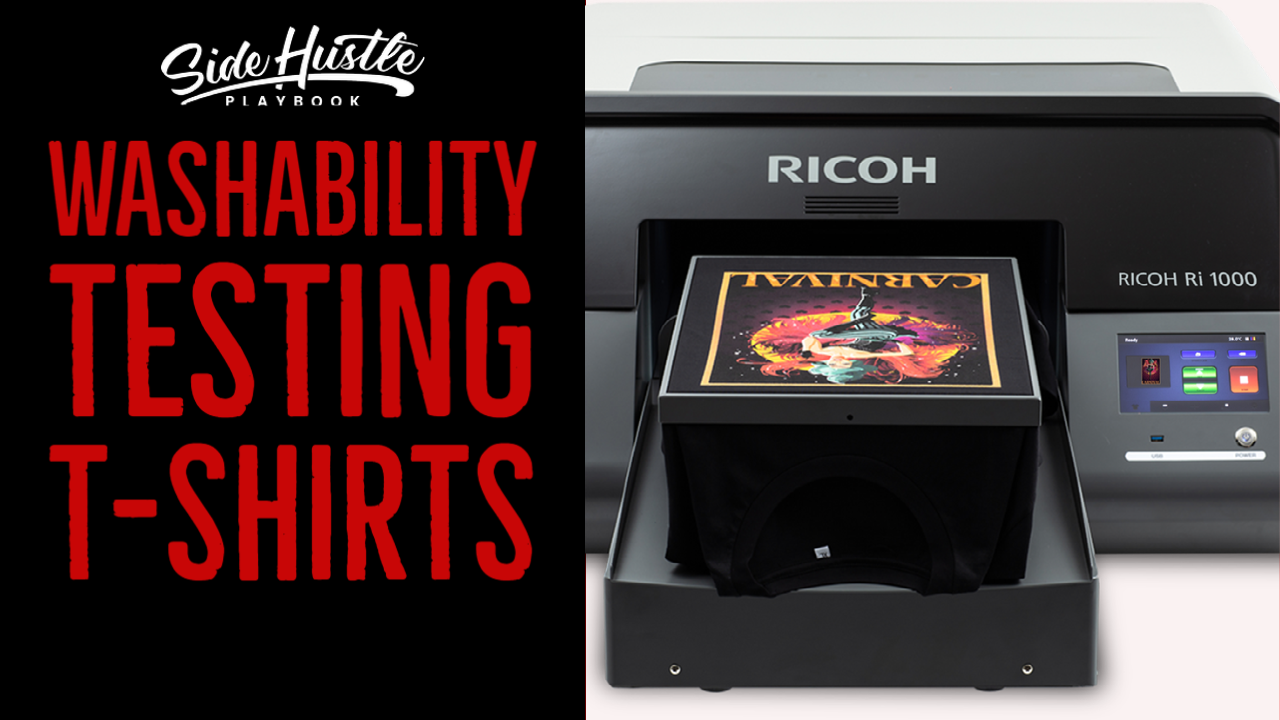
When it comes to creating high-quality direct-to-garment (DTG) printed shirts, there’s no such thing as a “one-size-fits-all” approach. I recently documented my testing process to show the real-world challenges and solutions that come with running a successful DTG printing side hustle. Here’s a glimpse into my day, filled with testing, troubleshooting, and striving for perfection.
The Daily Grind
After a long day at work, the last thing you might feel like doing is diving into your side hustle, but consistency is key. For me, that means running wash tests to ensure my shirts meet customer expectations. Whether using a heat press or a conveyor dryer, it’s all about dialing in the right settings to achieve long-lasting prints.
Heat Press vs. Conveyor Dryer
Heat Press:
- Pros: Reliable and consistent. Curing at 330°F for 90 seconds with medium pressure ensures the ink sets correctly.
- Cons: The dreaded “heat press box” can appear, especially on certain garments or colors.
Conveyor Dryer:
- Pros: Ideal for large batches, with less risk of the heat press box showing on garments.
- Cons: Tricky to fine-tune. It requires precise temperature and belt speed settings to fully cure the ink.
The Testing Process
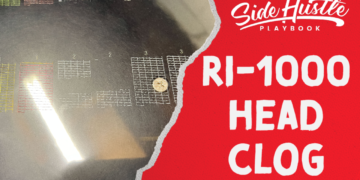
Recently, I noticed issues with some prints after washing. The ink cracked and flaked, giving a worn-out look after just one wash. This led me to revisit my curing process and run a series of tests using different settings.
Key Variables:
- Temperature Settings: Adjusting the boost (725°F to 735°F) and main chamber (500°F to 520°F) to see how it impacts durability.
- Belt Speed: Testing speeds like 23 volts (about 115 seconds) versus faster settings like 26 volts.
- Pre-Treat Application: Balancing the amount of pre-treatment solution applied to garments.
Real-World Wash Tests:
While ideal care involves cold washing and low-heat drying, customers often throw shirts in with the rest of their laundry. To simulate this, I washed test shirts with warm water and medium dryer settings, noting how they held up.
The Results
- 725°F/500°F at 23 Volts: The best results. Prints came out smooth, with minimal cracking or flaking after washing.
- 735°F/515°F at 23 Volts: The ink felt drier and rougher, with minor cracking and fibers showing through.
- 735°F/520°F at 26 Volts: Ink didn’t cure properly, leading to significant cracking and flaking.
Lessons Learned
- Pre-Treatment Matters: Too much pre-treat can cause cracking; too little can lead to poor print adhesion.
- Document Everything: I track settings, shirt brands, and designs in a Word document to refine my process over time.
- Be Patient: Testing isn’t cheap, but it’s essential for delivering high-quality products.
Final Thoughts
DTG printing is a constant learning experience. Whether you’re battling inconsistent prints or fine-tuning your equipment, the key is persistence. My current sweet spot is 725°F/500°F with a belt speed of 23 volts, but every shirt and design is different. That’s why testing is critical before offering products to customers.
If you’re diving into DTG printing, prepare to experiment and adapt. And don’t forget—having plenty of blank shirts for testing is a must!
For more tips and insights, check out my website, Side Hustle Playbook, or leave a comment below. Let’s keep perfecting our side hustles, one shirt at a time!


