
When you’re starting a side hustle in the print-on-demand (POD) space, one of the most important steps is testing the quality of your suppliers. After all, your customers expect vibrant colors, comfortable fabric, and designs that actually look like what they saw online.
In this post, we’ll walk through the process of creating a simple test design that will be used to compare POD suppliers like Printify and Printful. This is part one of our two-part series—where we set up the design before sending it off for printing. In part two, we’ll review the results and see which supplier delivers the best product.
Why Start with a Simple Design?
The goal here isn’t to create a best-selling design—it’s to create a test file that shows us how colors, sizing, and print quality come out across different POD platforms.
- We wanted some bold colors to test vibrancy and accuracy.
- Black shirts were chosen since they’re usually the best-selling color and help us evaluate how well colors pop against dark fabric.
- The design doesn’t need to be perfect—it just needs to give us a fair baseline for comparison.
Tools for Quick Design
For this project, we used Kittl, but tools like Canva can work just as well. Both are beginner-friendly and great for:
- Quick mockups for events, fundraisers, or small runs.
- Testing POD platforms without hiring a designer.
- Creating text-based designs with pre-made templates.
We’re not sponsored by Kittl—we just like it for fast and easy jobs that don’t need full custom artwork.
Using POD Templates
To make sure the design fits across platforms, we started with the Merch by Amazon template. It’s sized at 15″ x 18″ at 300 DPI, which is a safe format that also works for Printify, Printful, and other POD services.
Setting up your design in the correct size from the start avoids headaches later and ensures your files are print-ready.
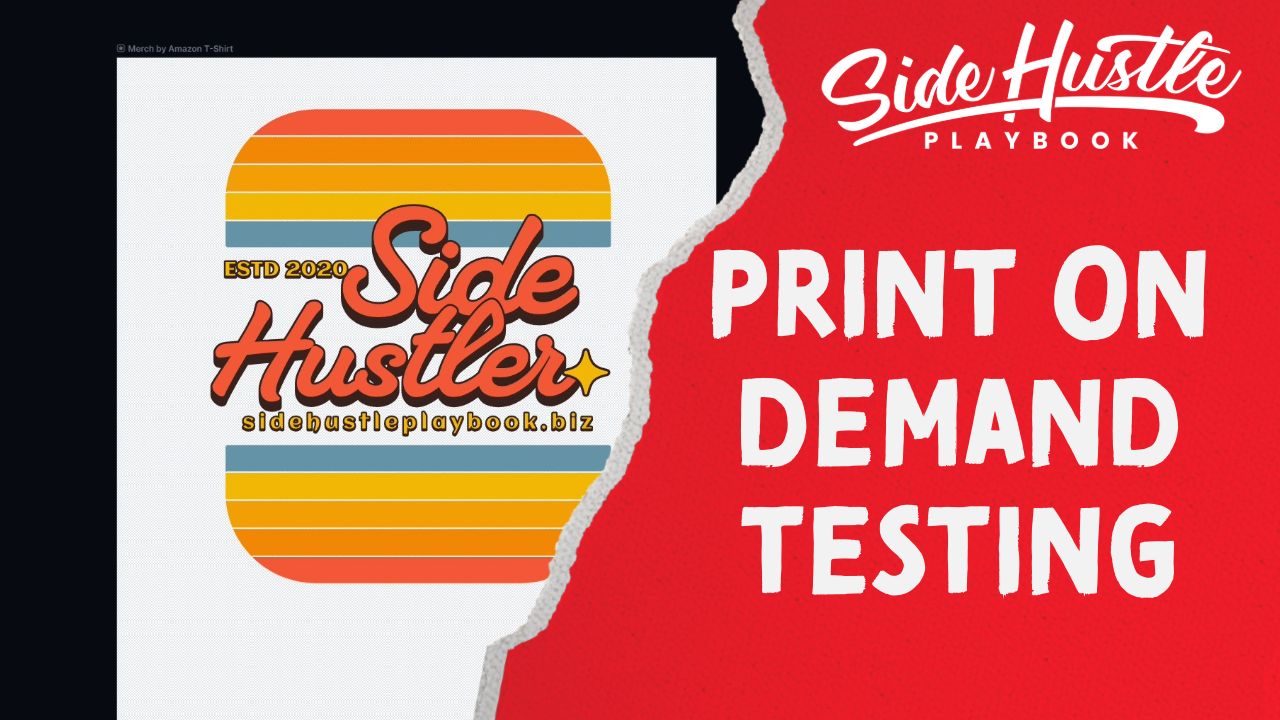
Creating the “Side Hustler” Design
Here’s the step-by-step approach we used:
- Set the background color to black (to see how colors appear on the most popular shirt color).
- Choose a retro-style template and update the text to say “Side Hustler.”
- Adjust font size and alignment until the design felt balanced.
- Add optional text (like the Side Hustle Playbook website) for testing smaller details.
- Export the file at 300 DPI with a transparent background.
This gave us a simple but colorful design that should be perfect for testing.
Preparing for Print
Before sending the design off, here are a couple of important checks:
- Always make sure your file is 300 DPI (print providers require this).
- Export with a transparent background for flexibility.
- Save your project file so you can adjust later if needed.
For this test run, we’ll use Bella+Canvas 3001 black tees across all POD platforms to keep the comparison fair.
What’s Next?
The next step is uploading this design to Printify, Printful, and other POD suppliers, then placing test orders. In Part 2 of this series, we’ll review the results:
- How did the colors look compared to the design file?
- Did the shirts feel comfortable, or did heavy ink areas feel patchy?
- Which supplier delivered the best balance of quality and consistency?
Stay tuned as we break down the results so you can decide which POD supplier is the best fit for your side hustle.


