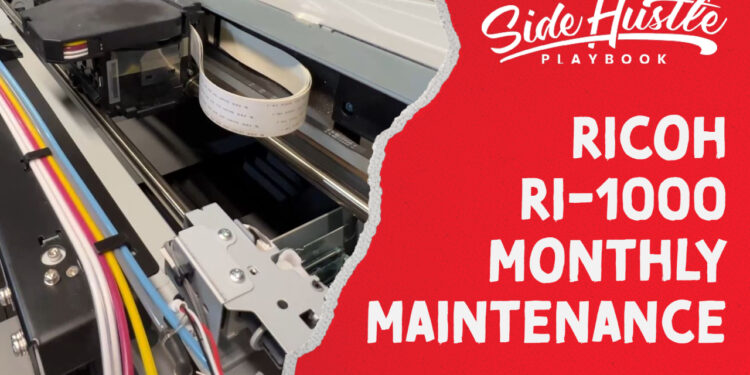
Maintaining your Ricoh RI 1000 DTG printer is critical for ensuring optimal print quality and extending the life of your machine. In this guide, we’ll walk you through the monthly maintenance process, including tools required, key steps, and tips for success. Let’s get started!
Why Maintenance Matters
Routine maintenance is essential to prevent clogged print heads, poor print quality, and potential damage to your printer. Weekly maintenance keeps your printer running smoothly, while monthly maintenance adds a few extra steps to ensure long-term performance.
Tools You’ll Need
Here’s what you’ll need for the monthly maintenance:
- Lint-free wipes (available from Ricoh or Amazon)
- Lint-free swabs (purchase through Ricoh or Amazon for better pricing with Prime shipping)
- Cleaning solution (Ricoh-specific cleaning solution)
- G1 grease (for the printer’s rails)
Monthly Maintenance Steps
1. Prepare the Printer
- Move the print head to the cleaning position:
- Navigate to manual maintenance in the settings menu.
- Confirm by selecting “Yes” to move the head to the center for easy access.
- Power down the printer:
- Press and hold the power button.
- Confirm shutdown.
- Turn off the power switch at the back.
2. Clean the Print Head and Station
- Clean the print head:
- Use lint-free wipes and cleaning solution to remove dried ink and debris.
- Pay special attention to edges and hard-to-reach areas.
- Clean the cleaning station:
- Wipe down the station to remove ink buildup.
- Aim for a thorough clean, though it may not always look perfect.
3. Clean the Rails and Encoder Strip
- Clean the rails:
- Wipe off old grease from the rails using lint-free wipes.
- Ensure the head remains in the cleaning area and doesn’t move to the cleaning station.
- Clean the encoder strip:
- For metal encoder strips: Use a dry lint-free wipe.
- For plastic encoder strips: Add cleaning liquid to the lint-free wipe.
- Avoid transferring grease to the strip.
4. Apply New Grease to Rails
- Reapply G1 grease:
- Apply a thin, even layer of grease to the cleaned rails.
- Move the print head back and forth gently to distribute the grease evenly.
5. Final Touches
- Clean the exterior:
- Wipe down the printer’s body and clear any dust from vents.
- Let the printer sit:
- Allow 5-10 minutes for cleaning solutions to dry before powering on.
- Power up the printer:
- Turn on the power switch at the back.
- Press and hold the power button until the Ricoh logo appears.
- Wait for the printer to fully boot (approximately 1-2 minutes).
6. Test the Printer
- Perform a nozzle check:
- Check for any issues with the print quality.
- If needed, run an automatic head cleaning.
- Recheck print quality:
- Ensure colors and lines look good.
- Minor imperfections are normal, but consistent poor quality may require additional cleaning.
Tips for Success
- Stay consistent: Weekly maintenance reduces buildup and makes monthly cleaning easier.
- Be thorough: Clean dried ink and grease thoroughly to avoid long-term issues.
- Use the right tools: Stick with Ricoh-recommended supplies for best results.
By following this guide, your Ricoh RI 1000 DTG printer will stay in great condition, providing vibrant, high-quality prints every time. If you have any questions, feel free to drop them in the comments below. Thanks for reading, and happy printing!


