
If you’re curious about sublimation or considering adding custom mugs or tumblers to your product lineup, this post is for you! Recently, I took my first dive into sublimation using a mug and tumbler heat press I ordered from Alibaba and an Epson F170 sublimation printer. Here’s how it went—and what I learned along the way.
Getting Started: Setting Up the Equipment
After waiting for what felt like forever, my Epson F170 printer finally arrived. This allowed me to print sublimation transfers and test my new heat press. Setting it up was straightforward: I installed the necessary drivers, which provided the print profiles I needed. I used Photoshop for my designs, letting the Epson handle color management.
Before diving into production, I did a quick test run with the press to ensure everything was safe and functioning properly. Safety first, right?
The Test Runs: Lessons Learned
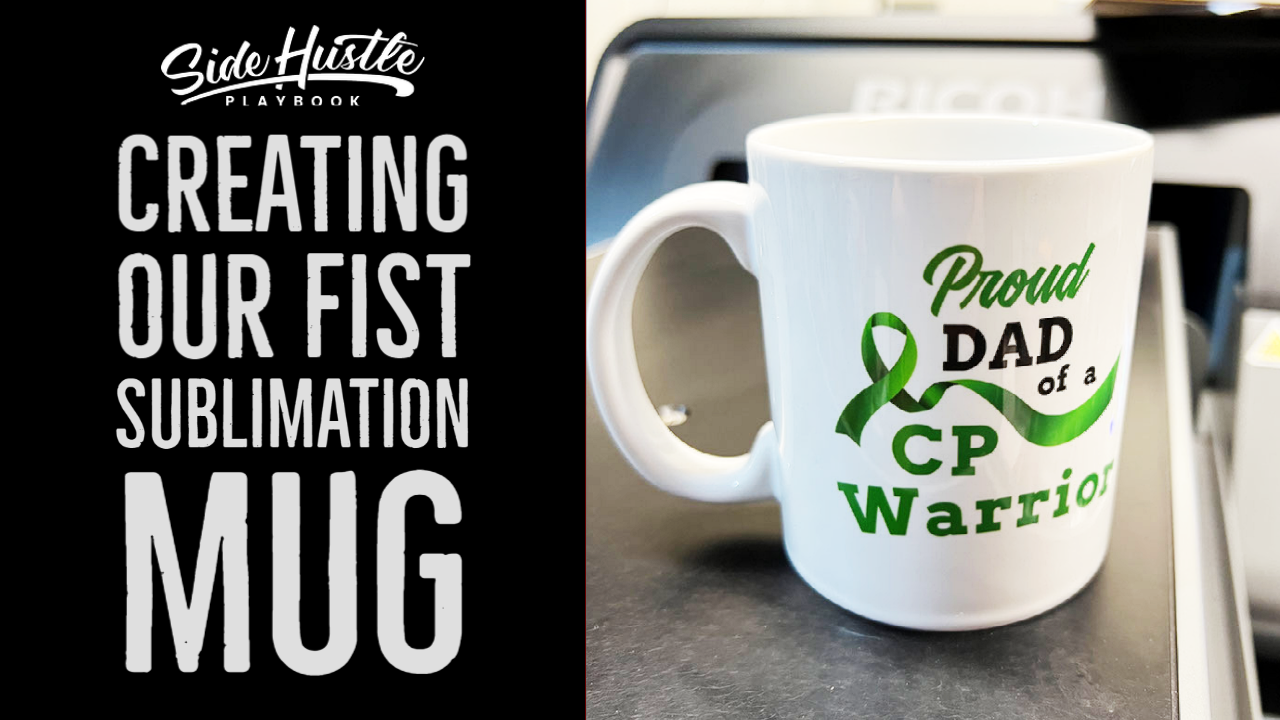
For my first sublimation test, I decided to create a color guide. This would help me understand how colors translate from screen to mug, as colors can sometimes look duller on the transfer paper before sublimation. Using an 8.5 x 14 template, I printed the guide on one side and pressed it onto a test mug.
Here are some key takeaways from the first test:
- Color Profiles Matter: I noticed that greens and other colors didn’t look vibrant on the transfer paper. However, once sublimated, the colors popped beautifully.
- Template Adjustments: My initial design was slightly off-center, and the text was placed too high. These were minor tweaks, but they underscored the importance of perfecting your template.
- The Smell: When the heat press first warmed up, it emitted a peculiar fish-like odor. While not overpowering, it was noticeable enough to raise eyebrows in my household. Hopefully, this burns off with continued use.
Results: Success with Room for Improvement
Despite some minor hiccups, the results were fantastic! The colors turned out vibrant, and the design adhered well to the mug. For future projects, I’ll:
- Lower the placement of my designs to avoid alignment issues.
- Trim the transfer paper to prevent charring near the edges.
- Continue experimenting with templates for different mug and tumbler sizes.
Next Steps: Scaling Up
With the mug press working so well, I’m excited to move on to tumblers. I’ll also be creating templates for 15 oz mugs and other popular sizes. As I refine my process, I’ll start adding these products to my Etsy and Shopify stores.
Final Thoughts: Tips for First-Timers
If you’re new to sublimation, here are a few tips based on my experience:
- Start with Test Runs: Use a color guide to understand how your printer handles colors.
- Perfect Your Templates: Small adjustments to placement and sizing can make a big difference.
- Be Patient with Equipment: New machines might emit odors or have quirks that fade with use.
- Experiment with Color Management: Whether you let your printer or software handle color profiles, find what works best for your setup.
What’s Next for Side Hustle Playbook?
Beyond sublimation, I’m planning a Ride-Along video to restock my eBay inventory. Stay tuned for more videos and updates as we continue hustling through the end of the year. If you have questions about sublimation, heat presses, or side hustles in general, feel free to leave a comment or reach out via email.
Thanks for your support, and happy hustling! Let’s finish the year strong and build momentum for 2024.
Got tips or experiences with sublimation? Share them in the comments! Don’t forget to check out our Etsy and Shopify stores for unique, custom products.
Until next time, keep hustling!


