
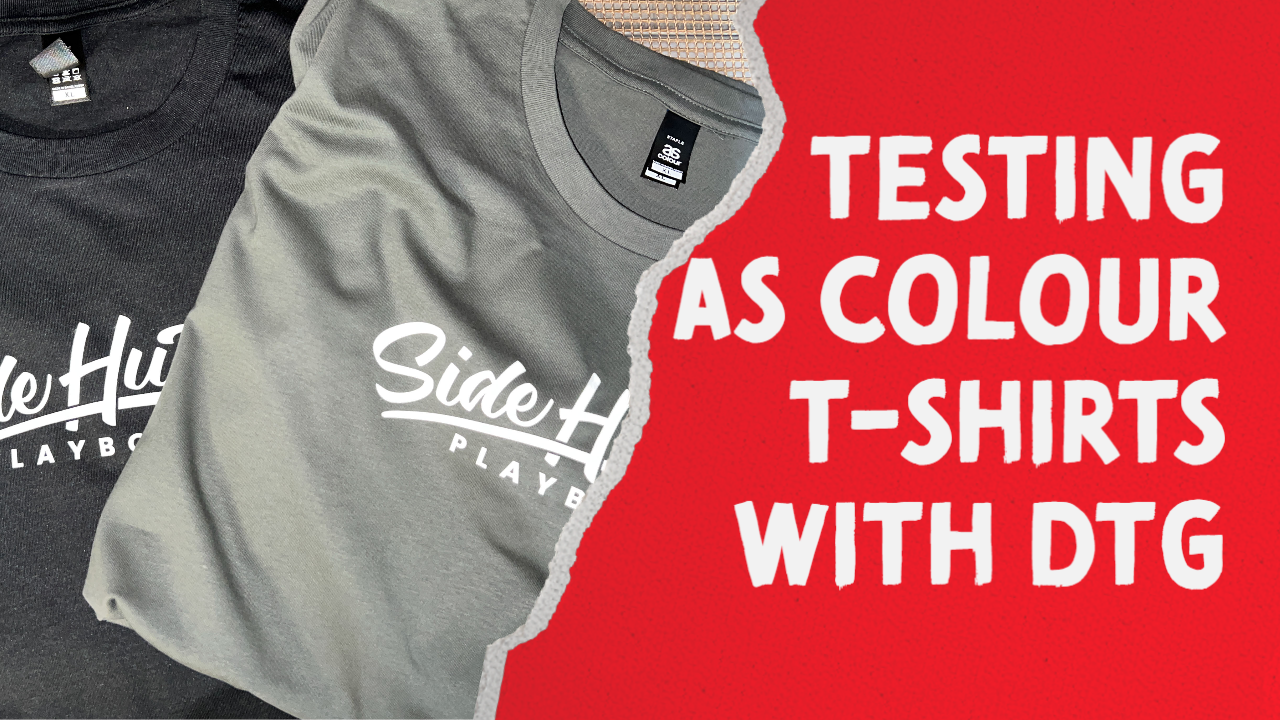
Hey everyone, Oscar here from Side Hustle Playbook! Today, I’m diving into something a bit different. I’ve got a boxing fight party this Saturday, and some friends asked me to make matching shirts for the event. While prepping these shirts, I thought it would be a perfect opportunity to test out different pre-treat solutions for Direct-to-Garment (DTG) printing. I know this isn’t the most scientific approach, but I think it will give us some valuable insights!
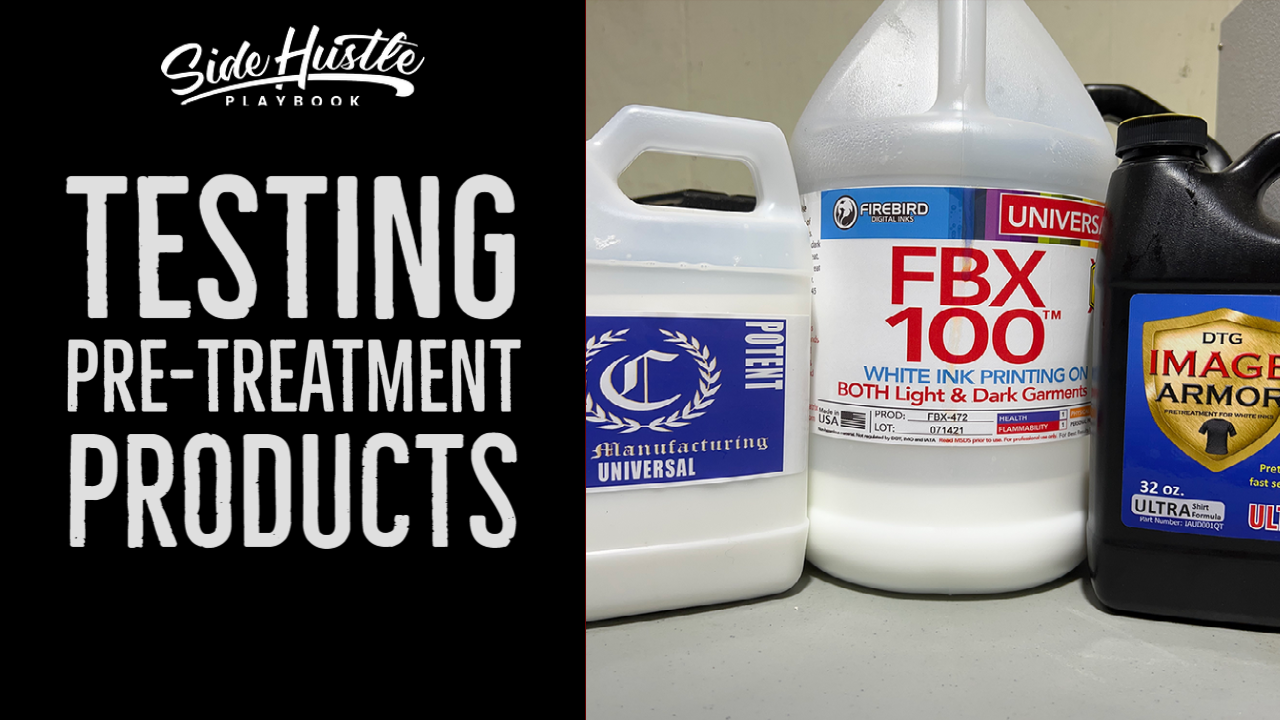
The Contenders: Firebird FBX 100, Image Armor Ultra, and Creek Pre-Treat
I’m putting three popular pre-treat solutions head-to-head: Firebird FBX 100, Image Armor Ultra, and Creek Pre-Treat. I’ve used each of these at various times, but this time, I’m doing a direct comparison under the same conditions. I’ll be using the same pre-treat settings, drying method, and print design to keep things as consistent as possible.
Setting the Stage
To ensure a fair comparison, I used the Pearl PTM pre-treat machine to apply the pre-treat solutions with the same settings for each shirt. After applying the pre-treat, I dried the shirts using the same method and printed the same image on all three shirts. Then, I ran each shirt through a conveyor dryer to finish up. Now, let’s see how they turned out!
The Results: A Close Call
After letting the shirts sit overnight, I reviewed them, focusing on the feel, color vibrancy, and whether the dreaded pre-treat box was visible.
1. Firebird FBX 100
- Feel: The shirt felt soft, even around the pre-treated area, which can sometimes feel stiff.
- Color: The colors were vibrant, especially the red and white. I didn’t notice much fabric coming through, which is great.
- Pre-Treat Box: There was a faint pre-treat box, but it wasn’t too noticeable. If I were selling this shirt, I might dial back the pre-treat from 40 to around 30 to reduce the visibility of the box.
2. Image Armor Ultra (Dark Formula)
- Feel: The shirt felt good, but the pre-treat box was more noticeable compared to the Firebird.
- Color: The colors were decent, but the green looked a bit flat, and some of the fabric showed through in spots. I also noticed slight cracking on the ink, which is concerning.
- Pre-Treat Box: The box was quite visible, and I’d probably try drying the pre-treat differently next time, maybe letting it dry more naturally before pressing.
3. Creek Pre-Treat
- Feel: The shirt felt soft, similar to the Firebird.
- Color: The colors were strong, although there were some areas where the fabric showed through.
- Pre-Treat Box: The box was visible, particularly on the black shirt. I’d likely reduce the pre-treat amount next time to improve this.
Verdict: A Tight Race
So, what’s my verdict? While all three pre-treat solutions performed well, my favorite was the Firebird FBX 100. It edged out the competition with slightly better color vibrancy and less noticeable pre-treat boxing. The Creek Pre-Treat was a close second, and Image Armor Ultra, while still solid, fell slightly behind due to the visible pre-treat box and the flatter green color.
Final Thoughts and Tips
If you’re doing DTG printing, it’s important to keep experimenting with pre-treat amounts and drying methods to get the best results. Every shirt color might require a different approach, so don’t be afraid to tweak your process. I usually start with a 40-gram pre-treat amount and adjust based on the results. Also, try hovering your heat press over the shirt after pre-treating to let it dry more evenly before giving it a final press.
Let me know what pre-treat solutions you use and how you prevent the pre-treat box from showing up on your prints! I’d love to hear your tips. Feel free to reach out to me at [email protected], and don’t forget to check out our site for more tips and tricks.
Until next time, happy printing!


