
Hey everyone, it’s Oscar from Side Hustle Playbook! If you run a screen printing or DTG business, you know how important it is to keep your equipment running smoothly. Unfortunately, we ran into some issues with our Vastex dryer—specifically, the exhaust fan stopped working, which made it tough to keep up with production.
In this post, I’ll walk you through how we got it fixed, the challenges we faced, and a few tips if you ever find yourself in a similar situation.
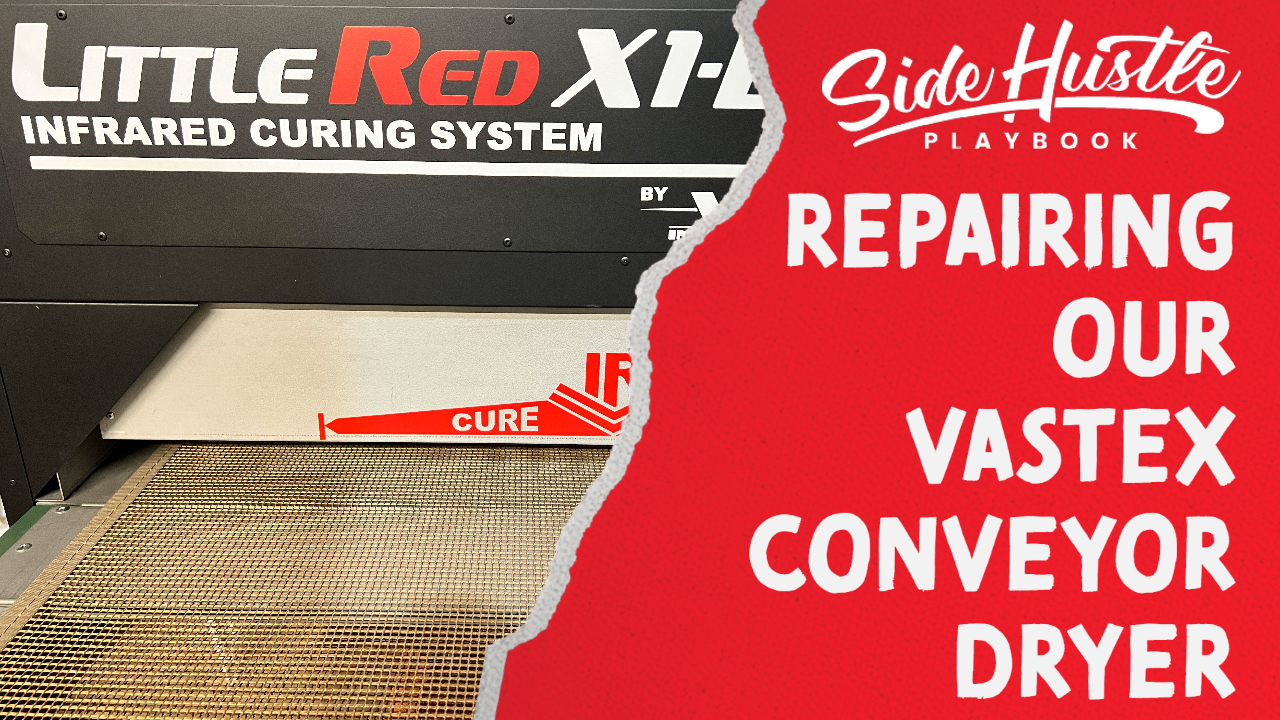
The Problem with Our Vastex Dryer
For those who have been following along in previous videos, you might remember that we had issues with our Vastex dryer’s exhaust fan. It just wouldn’t spin, and that’s a major problem when it comes to properly curing prints.
After reaching out to Vastex support, they quickly diagnosed the issue and sent us a new exhaust fan and capacitor. I have to say, their customer service was responsive and helpful, which made the process much smoother.
In the meantime, we relied on our heat press to cure prints, and while it worked, it wasn’t ideal—especially when dealing with pre-treat boxes for DTG printing. So, we were eager to get the dryer fixed as soon as possible.
Getting the Right Parts & Professional Help
When the parts arrived (which took about four days due to shipping across different parts of the country), we were ready to swap out the broken components. However, one challenge we faced was that the new fan and capacitor had different wiring colors compared to the original setup.
The Wiring Issue
- The original capacitor had two black wires
- The old fan had green, blue, black, and brown wires
- The replacement fan came with red, yellow, and blue wires
This difference meant we had to double-check where each wire needed to go, and since I’m not an expert in electrical work, I called in an electrician to make sure everything was installed correctly.
Even the electrician recommended that we ask Vastex for a wiring diagram to be 100% sure. Thankfully, Vastex support quickly emailed the instructions, but this did delay the process by a day or two while we waited for the response and scheduled the electrician’s return.
Installing the New Exhaust Fan & Testing the Dryer
Once the wiring was confirmed, the electrician came back and got everything installed properly. We then powered everything up for a test run—and it worked!
Before the repair, the fan was barely spinning and had no airflow. But with the new part installed, the fan was much louder and properly ventilating the dryer. That was a huge relief because having the Vastex dryer back in operation means we can get back to more efficient production.
Lessons Learned & Final Thoughts
Here are a few takeaways if you ever find yourself needing to repair a Vastex dryer or any other screen printing equipment:
- Get in touch with support – Vastex was great at troubleshooting the issue and sending the correct parts.
- Request a wiring diagram – If your replacement parts have different wiring configurations, always ask for documentation before installation.
- Consider hiring an expert – If you’re not comfortable with electrical work, hiring an electrician is worth it to ensure safety and proper installation.
- Expect some downtime – Even with quick support and shipping, you might experience delays if additional steps (like verifying wiring) are needed.
- Appreciate your equipment – When things break down, it really makes you realize how much you rely on them. Having the dryer up and running again was a game-changer for our workflow!
If you run a screen printing or DTG business, let me know in the comments—have you ever dealt with repairs like this? How did you handle it?
Thanks for reading, and as always, stay hustling!


